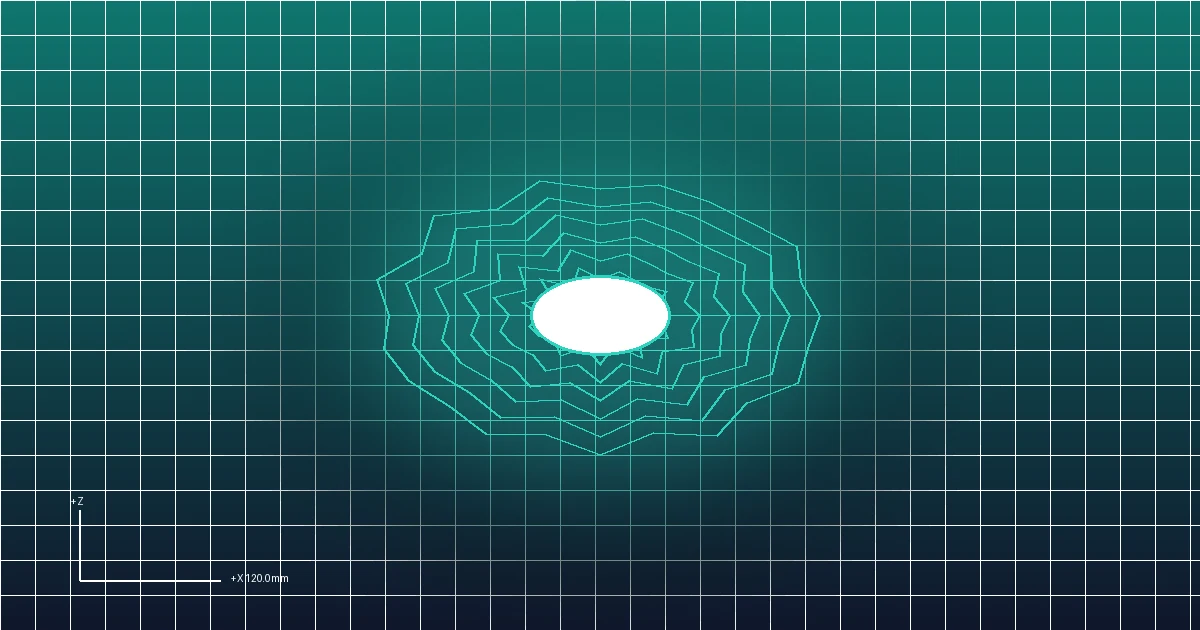
Converting two-dimensional raster elevation data into tactile 3D topographical terrain models is an indispensable workflow for geologists, landscape architects, educational institutions, tabletop game terrain builders, and geographical hobbyists.
Whether using Digital Elevation Models (DEM) from the United States Geological Survey (USGS), satellite radar data from NASA’s Shuttle Radar Topography Mission (SRTM), or procedural heightmaps exported from terrain generators like World Machine and Gaea, turning a grayscale raster image into a clean, 3D printable STL mesh requires careful elevation scaling and boundary closure.
This tutorial provides step-by-step instructions for converting 2D heightmap graphics into solid, watertight 3D terrain meshes using the browser-based FreeConvert3D Studio.
The Mathematics of Digital Elevation Mapping
A heightmap is an 8-bit or 16-bit raster image where each pixel’s grayscale luminance encodes an absolute physical elevation:
Grayscale Luminance Level [0 to 255]
       │
       ▼  Elevation Transformation:  Z(x, y) = Base + (L / 255) * Vertical_Exaggeration
Physical Terrain Mesh ($X, Y, Z$)- Black Pixels ($L = 0$): Represent the lowest geographic datum (sea level, valley floors, or deep ocean trenches).
- White Pixels ($L = 255$): Represent the highest mountain peaks or topographical plateaus.
- Vertical Exaggeration: In natural planetary scales, mountain ranges appear surprisingly flat when scaled down to a 100 mm desktop print. To make mountain ridges physically recognizable and tactile, a vertical exaggeration multiplier between $1.5\times$ and $3.0\times$ is typically applied.
Key Parameters for 3D Printable Terrain
| Configuration Variable | Recommended Value | Engineering Purpose |
|---|---|---|
| Model Footprint Width | 100 mm to 200 mm | Scaled to fit comfortably on standard 3D printer build plates |
| Baseplate Floor Thickness | 2.0 mm to 3.0 mm | Prevents corners from curling or warping off the build plate during cooling |
| Maximum Relief Elevation | 10.0 mm to 25.0 mm | Provides clear tactile ridges without exceeding maximum layer print times |
| Sampling Mesh Grid | 256x256 to 512x512 | Balances fine topographical detail against browser memory and slicer slicing time |
   Mountain Peak (White: Z = 15.0 mm)
         /        /     Ridge
       /      /  ────/──────/──────────── Sea Level Datum (Black: Z = 2.0 mm)
  ══════════════════════════ Solid Baseplate (Floor: Z = 0.0 mm)
Step-by-Step Tutorial: Generating an STL Terrain Model
- Obtain High-Resolution Elevation Data:
- Download free DEM grayscale tiles from public GIS repositories such as the USGS EarthExplorer or OpenTopography.
- Crop your geographic area of interest into a square or rectangular PNG graphic.
- Import into FreeConvert3D:
- Navigate to the FreeConvert3D 2D Image to STL Workspace.
- Drag your elevation heightmap into the upload canvas.
- Configure Physical Elevation:
- Mode: Select Relief.
- Model Width: Set your desired physical display size (e.g.
120.0 mm). - Base Thickness: Set to
2.0 mmto create a stable, non-warping foundation floor. - Relief Height: Adjust the vertical relief height (e.g.
12.0 mm) to achieve the desired vertical exaggeration.
- Generate Watertight Solid: The system automatically stitches four vertical side walls along the geographic perimeter and seals the bottom with a flat planar floor.
- Download Binary STL: Save the finalized mesh ready for immediate slicing.
If you are working with photographic portraits or family pictures instead of topographic maps, read our guide on 3D Printed Lithophanes.
Recommended Slicing Settings for Terrain Prints
To capture subtle geological gullies, riverbeds, and ridgelines without excessive print times:
- Layer Height: Use 0.12 mm layer height for the top terrain section. If your slicer supports Adaptive Layer Height, enable it to print the flat baseplate at 0.28 mm and automatically drop down to 0.08 mm along steep mountain ridges.
- Infill: 10% to 15% using Gyroid infill to support broad horizontal plateaus.
- Top Solid Layers: Minimum of 5 solid layers (1.0 mm) to prevent pillaring or sagging over valleys.
- Orientation: Always print flat on the build plate with the flat base facing down. Never print terrain vertically.
Frequently Asked Questions
Why does my terrain model have jagged horizontal stair steps?
If you source an 8-bit grayscale image, there are only 256 distinct discrete height steps. Over a 25 mm tall mountain relief, each gray value step creates an abrupt $0.1\text{ mm}$ vertical shelf. To eliminate stepping, apply a subtle Gaussian blur ($1\text{px} - 2\text{px}$) to the image in an editor before importing to smoothly interpolate between elevations.
Can I convert lunar or Martian elevation maps?
Yes. NASA publishes high-resolution LOLA (Lunar Orbiter Laser Altimeter) and MOLA (Mars Orbiter Laser Altimeter) elevation maps in standard grayscale formats. You can import these images directly into FreeConvert3D to print scale replicas of lunar craters and Olympus Mons.
Is the conversion completely private?
Yes. All canvas pixel scanning, elevation matrix sampling, and Three.js 3D mesh generation take place entirely inside your local browser memory. No geographic data is transmitted to external servers.