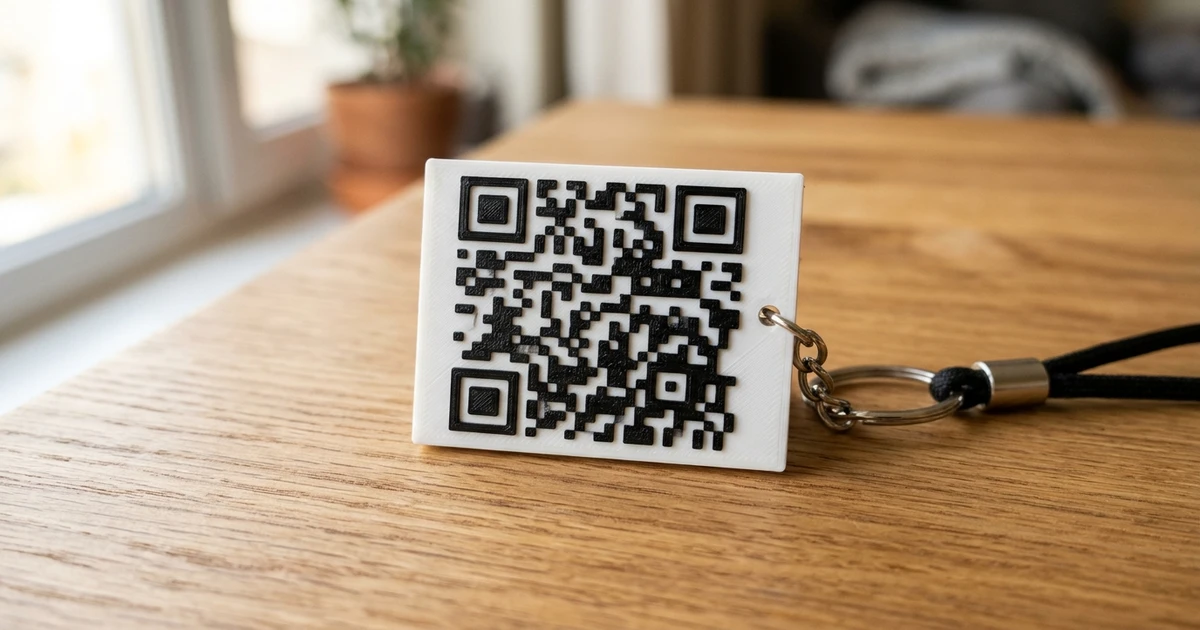
Converting two-dimensional raster graphics (photographs, company emblems, digital illustrations, and topographical sketches) into physical, tactile 3D printable objects is one of the most accessible workflows in modern additive manufacturing.
However, many beginner makers struggle with common generation artifacts: jagged pixelated stair-stepping, hollow non-manifold baseplates that collapse in slicing engines, or inverted relief depths where light and dark features extrude backwards.
This technical guide demonstrates how to convert any 2D image into a clean, manifold 3D STL mesh using the browser-based FreeConvert3D 2D Image to STL Workspace, covering relief carvings, lithophanes, and industrial embossing stamps.
The Mathematics of Heightmap Extrusion
To achieve crisp prints, you must understand how pixel luminance values translate into physical spatial coordinates ($X, Y, Z$):
2D Pixel Grid (RGB / Grayscale)
       │
       ▼  Luminance Calculation:  L = 0.299*R + 0.587*G + 0.114*B
Luminance Value [0 to 255]
       │
       ▼  Physical Height Equation:  Z(x, y) = Base_Thickness + (L / 255) * Relief_Height
Watertight 3D Mesh Output- Luminance Calculation: Each pixel in your input image is mapped to a grayscale intensity value ranging from $0$ (pure black) to $255$ (pure white) using the standard perceptual photometric formula: $$L = 0.299 R + 0.587 G + 0.114 B$$
- Height Mapping: The calculated luminance value $L$ determines the physical vertical elevation $Z$ on the 3D coordinate plane: $$Z(x, y) = Z_{\text{base}} + \left(\frac{L}{255}\right) \times H_{\text{relief}}$$
- Manifold Boundary Stitching: A raw heightfield is merely an open surface sheet. To print reliably, the algorithm stitches vertical side walls around the image perimeter and adds a flat rectangular floor, producing a closed, watertight manifold solid.
Choosing the Right Conversion Mode
Depending on your physical application, select the appropriate conversion strategy:
| Mode | Visual Mechanism | Typical Application | Key Printing Parameter |
|---|---|---|---|
| Bas-Relief (Sculpture) | Highlights extrude upwards; dark shadows remain at base level | Medallions, decorative plaques, wall crests | 0.16 mm layer height, 15% infill |
| Lithophane (Translucent) | Dark shadows extrude thicker to block light; highlights stay thin | Backlit photo lamps, window suncatchers | 100% solid infill, 0.12 mm layer height |
| Embossing Stamp / Cutter | High-contrast black outlines extrude vertically with negative base | Ceramic stamps, clay imprint tools, cookie molds | 100% infill, 4 perimeter walls |
Bas-Relief (White = Tall):      Lithophane (White = Thin):
   ▲                               ▲
   │    ┌───┐                      │  ┌──────────┐
   │ ┌──┘   └──┐                   │  │ ┌──────┐ │
   │ └──┬───┬──┘                   │ ┌┴─┘      └─┴┐
───┴────┴───┴──────► X          ───┴─┴────────────┴─► X
   Black   White                   Black   White
Step-by-Step Tutorial: Generating an STL from an Image
- Pre-Process Your Graphic: For best results, use high-contrast images. Remove busy photographic backgrounds using a clean solid white or transparent alpha channel.
- Import Image Asset: Drag your graphic into the FreeConvert3D Image to STL Workspace. Supported formats include
.png,.jpg,.webp, and.bmp. - Configure Physical Geometry:
- Model Width: Set your desired physical output size (e.g.
80.0 mm). The model height scales proportionally to preserve the source aspect ratio. - Base Thickness: Set to
1.2 mmto ensure a rigid, warp-resistant foundation on the print bed. - Relief Height / Depth: Set between
2.0 mmand5.0 mmdepending on the desired dramatic depth.
- Model Width: Set your desired physical output size (e.g.
- Toggle Height Inversion: For standard relief carving, keep bright pixels high. If creating a lithophane, check Invert Heights so dark photographic shadows generate thicker plastic layers.
- Generate and Export STL: Click Regenerate Mesh, verify the interactive real-time preview in the 3D viewport, and click Export STL.
For sharp vector assets with crisp typography, also check our dedicated PNG to STL Guide or convert line art directly with our Cookie Cutter Maker.
Best Slicing Settings for Image-Derived 3D Prints
To ensure fine photographic details translate accurately without surface zits or under-extrusion:
- Print Orientation: Always print lithophanes standing vertically along the Y-axis of your build plate. Horizontal flat printing causes severe stair-stepping quantization due to discrete slice layer heights.
- Infill Percentage: Set to 100% infill (Rectilinear or Aligned Linear) for lithophanes. Any interior hollow air pockets will cause disastrous dark bands when illuminated.
- Cooling Fan: Set to 100% cooling to ensure steep vertical overhangs along intricate relief contours freeze instantly.
- Print Speed: Reduce outer wall speed to $30\text{ mm/s} - 45\text{ mm/s}$ for crisp surface resolution.
Frequently Asked Questions
Can I convert a color smartphone photo into a full 3D sculpture?
Heightmap conversion translates 2D pixel brightness into vertical relief depth. It creates an embossed plaque or decorative medallion, not a full 360-degree cylindrical sculpture. For 360-degree figurines, multi-angle photogrammetry or neural mesh reconstruction is required.
What causes rough stair-stepping on curved relief surfaces?
Stair-stepping artifacts stem from two causes: low source image resolution (fewer than 500 pixels wide) or slicing layer heights that are too thick (e.g. 0.28 mm). To eliminate banding, use a high-resolution source image (at least 1500px wide) and slice at 0.12 mm layer height.
Is my private photograph uploaded to any cloud server?
No. All pixel sampling, canvas manipulation, and Three.js 3D mesh buffering take place locally in your computer’s browser memory. Your personal photographs and proprietary graphics never leave your local device.
Which filament color produces the clearest lithophanes?
Pure warm-white or cool-white PLA filament produces the best optical contrast and dynamic range. Avoid translucent or silk filaments, as light scatters unpredictably across the crystalline polymer chains.