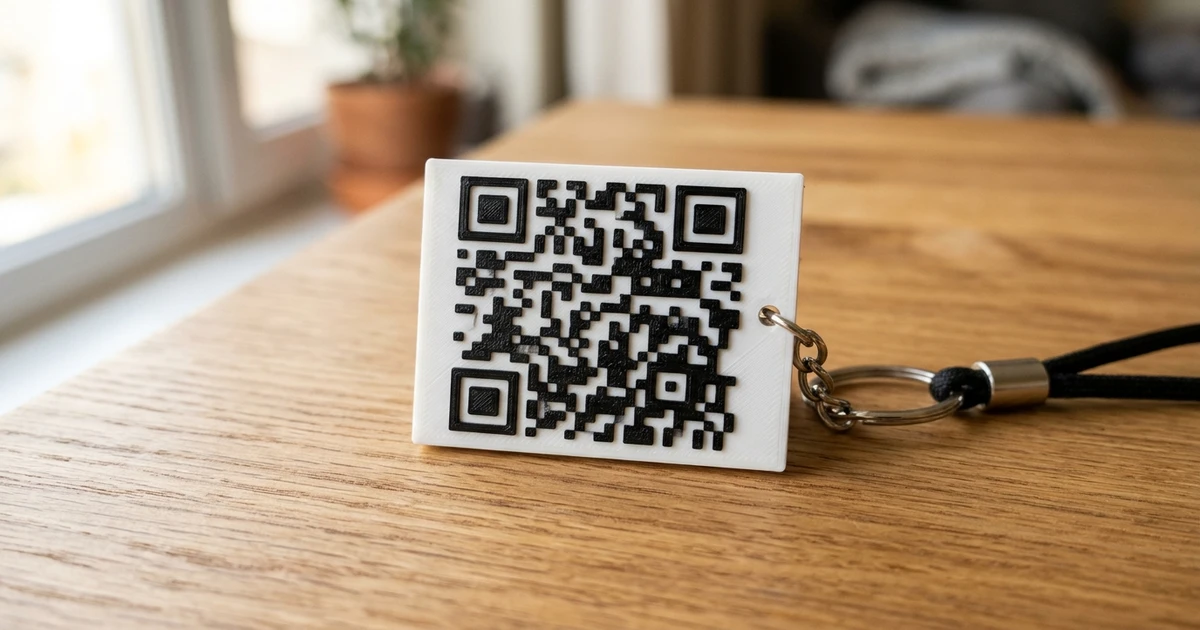
Turning two-dimensional graphic assets—such as corporate brand logos, gaming emblems, sign typography, and custom stencil art—into extruded 3D physical objects is a staple workflow for signmakers, cosplayers, and bespoke merchandise creators.
While generic JPG images require luminance thresholding to separate subjects from background pixels, transparent PNG files provide an explicit alpha channel that defines exact boundary perimeters. Leveraging this alpha mask allows you to generate crisp, vertically extruded 3D meshes without background noise.
This tutorial demonstrates how to convert transparent PNG graphics into clean, watertight STL models ready for slicing and multi-color 3D printing.
Why Transparent PNGs Yield Superior 3D Meshes
Comparing standard JPG heightmaps against alpha-masked PNG extrusions highlights the distinct advantages of transparent formats:
| Metric | Standard JPEG Graphic | Transparent PNG Graphic |
|---|---|---|
| Background Isolation | Luminance thresholding required | 8-bit Alpha Channel ($A=0$ to $A=255$) |
| Boundary Artifacts | JPEG DCT compression blocks cause fuzzy edge noise | Pixel-perfect boundary edges |
| Internal Cutouts | Complex masking needed for enclosed letters (e.g., ‘O’, ‘A’, ‘P’) | Automatically recognized as negative voids |
| Surface Flatness | Subtle photographic gradients cause uneven top surfaces | Uniform flat top face perfect for multi-color filament swaps |
| Typical Post-Processing | Heavy blurring or manual threshold cleanup | Direct extrusion ready for print bed |
JPEG Boundary (Noisy Compression):       PNG Alpha Boundary (Crisp Transition):
   1.0 ┌──────────┐                         1.0 ┌──────────┐
       │   /     │                             │          │
   0.5 │  /      │                         0.5 │          │
       │ /       │                             │          │
   0.0 ┴───────┴──┴──► X                    0.0 ┴──────────┴──► X
    Edge Artifacts                          Clean Vertical Step
Step-by-Step: Converting PNG Logos to STL
Follow these production steps using the FreeConvert3D Studio:
- Prepare Your PNG File:
- Ensure the canvas background is truly transparent ($A=0$), not a faux gray-and-white checkerboard bitmap.
- For sharpest edges, resize your logo to at least $1000 \times 1000$ pixels.
- If your logo contains floating text elements (such as dots on the letter ‘i’), consider connecting them with subtle bridges if you need a single continuous physical badge.
- Import into Workspace: Drag your PNG into the 2D Image to STL Panel. The engine automatically detects the alpha channel and generates a binary footprint mask.
- Configure Extrusion Parameters:
- Base Plate: If creating a standalone free-floating badge or keychain, set the base thickness to
0.0 mmor keep a thin1.2 mmbacking plate to hold disconnected letters together. - Extrusion Height: Set your logo relief height (typically
2.4 mmto4.0 mmfor keychains and desk plates). - Resolution Subsampling: Keep grid sampling high to prevent jagged stairstepping along circular arcs.
- Base Plate: If creating a standalone free-floating badge or keychain, set the base thickness to
- Inspect in 3D Viewport: Rotate the generated mesh to verify that all inner loops (such as the center loops of ‘B’ or ‘8’) are hollowed out correctly.
- Export Watertight STL: Click Export STL to save your binary mesh.
If your project requires adding functional accessories such as keyring loops, combine this workflow with our 3D QR Code and Keychain Maker.
Multi-Color Filament Swapping (PrusaSlicer & Bambu Studio)
One of the most popular uses for extruded PNG logos is creating two-color prints using a single-extruder 3D printer:
Z = 4.0 mm ─────────────────── Top of Logo Text (Color 2: White)
Z = 2.0 mm ─────────────────── Color Change Layer (M600 Filament Swap)
Z = 0.0 mm ─────────────────── Bottom Baseplate (Color 1: Black)- Slice the STL: Load your converted STL into Bambu Studio or PrusaSlicer.
- Locate Transition Layer: Move the vertical layer preview slider to the precise layer where the flat baseplate ends and the logo lettering begins (e.g., at height $Z = 2.0\text{ mm}$).
- Insert Color Change:
- PrusaSlicer: Right-click the layer slider plus icon ($+$) and select Add color change (M600).
- Bambu Studio: Right-click the layer indicator and select Change Filament.
- Print Execution: The printer prints the solid backing in your primary color, pauses automatically, prompts you to feed the contrasting logo filament, purges, and resumes seamless printing.
Troubleshooting PNG Extrusion Issues
| Problem | Root Cause | Solution |
|---|---|---|
| Entire image turns into a solid block | Background is white or colored rather than transparent | Open image in an editor (Photoshop, GIMP, Photopea) and delete the solid background to expose true alpha |
| Outer edges show ragged stair-stepping | Low resolution raster asset (e.g. 200px wide icon) | Vectorize your graphic to SVG first or upscale using a bicubic filter prior to mesh generation |
| Thin lines break or fail to slice | Line features thinner than your slicer nozzle diameter ($<0.4\text{ mm}$) | Thicken fine strokes in your graphic editor to at least $0.8\text{ mm}$ (2 wall perimeters) |
| Letters float away loose from badge | No underlying baseplate selected to unify separate shells | Set Base Thickness to at least 1.0 mm to unite distinct typographical elements |
Frequently Asked Questions
What image resolution produces the best PNG to STL results?
An image resolution between $1200 \times 1200$ and $2400 \times 2400$ pixels delivers optimal edge fidelity without causing excessive browser memory allocation. Resolutions below $500 \times 500$ will display noticeable pixel steps along non-orthogonal curved boundaries.
Can I convert multi-colored PNG logos into multi-color STLs?
Standard STL files do not store color data. However, if your PNG logo has distinct color zones (e.g. red lettering on a yellow shield), you can export separate PNG masks for each color layer, convert each mask into an STL with matched dimensional coordinates, and load both STLs into your slicer as a single multi-part assembly. For multi-part file handling, see our guide on 3MF to STL.
Why does my slicing software warn about thin walls?
FDM 3D printers cannot extrude features narrower than their physical nozzle diameter (typically $0.4\text{ mm}$). When a high-resolution logo contains fine serifs or hairline strokes that scale down below $0.4\text{ mm}$, the slicer ignores them. Ensure all graphic details exceed $0.8\text{ mm}$ in physical dimensions for reliable deposition.
Can I run this tool on mobile or tablet browsers?
Yes. The FreeConvert3D workspace runs entirely client-side using responsive HTML5 Canvas and WebGL. You can import graphics directly from your mobile camera roll or tablet sketch app and export clean STL files on iPad, Android, or desktop platforms.